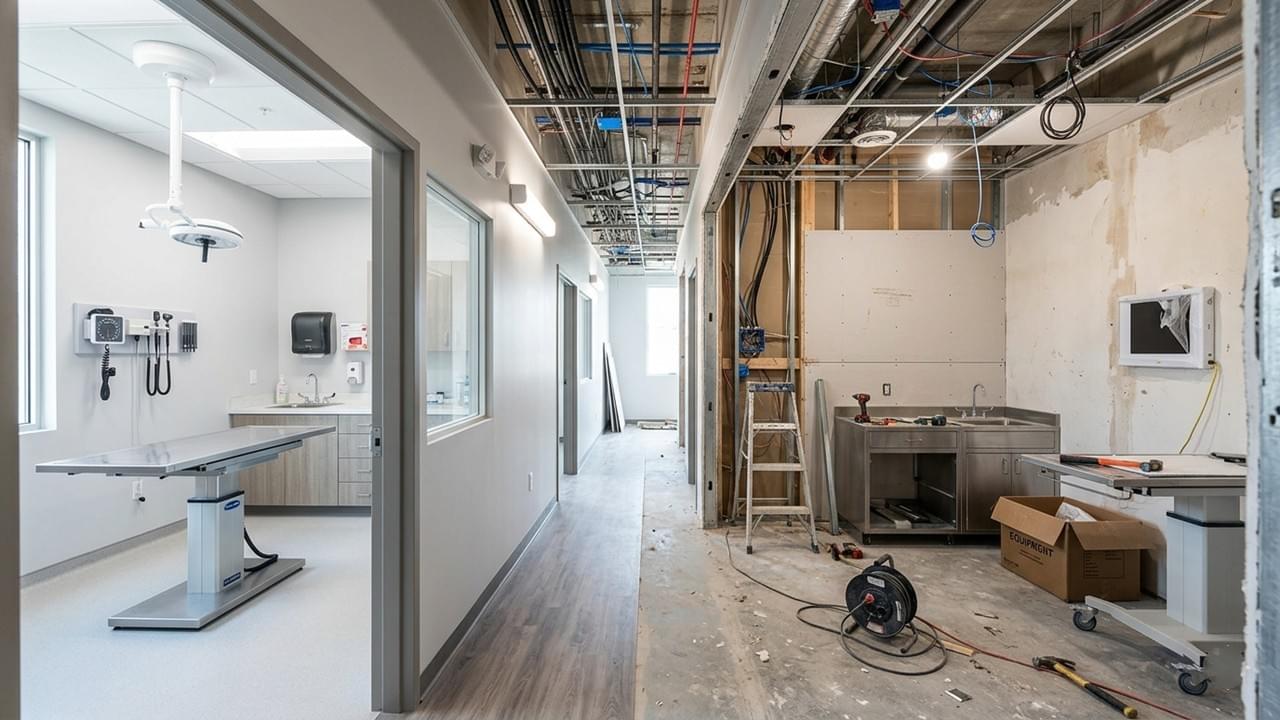
Let’s be honest: setting up a new clinic is exhilarating, but it is also one of the most capital-intensive headaches you’ll ever face. It’s tempting to start browsing high-tech catalogs immediately, but the world’s best surgical laser won’t save you if your staff is constantly tripping over each other in a cramped corridor. At its heart, veterinary hospital equipment layout planning isn’t an interior design project—it’s clinical workflow engineering.
If your floor plan doesn’t align with how your team actually moves, you’ll face bottlenecks that no amount of expensive hardware can fix. Whether you are building from a blueprint or renovating an old space, getting the layout right ensures patient safety, staff sanity, and a healthy bottom line. Here is how to strategically map your facility for maximum efficiency.
1. Master Your Veterinary Hospital Equipment Layout Planning Sequence 🏥
The most expensive mistake we see is purchasing equipment before the floor plan is finalized. Imagine ordering a ceiling-mounted X-ray system only to realize your room’s dimensions or electrical load can’t support it. The golden rule for a successful setup is simple: floor plan → workflow mapping → equipment selection → equipment layout.
Before you sign a single purchase order, consult a structured Equipment Checklist for Small Animal Veterinary Clinics to ensure every square inch is accounted for. This prevents costly retrofits and ensures that your infrastructure, from oxygen lines to lead shielding, is built correctly the first time.
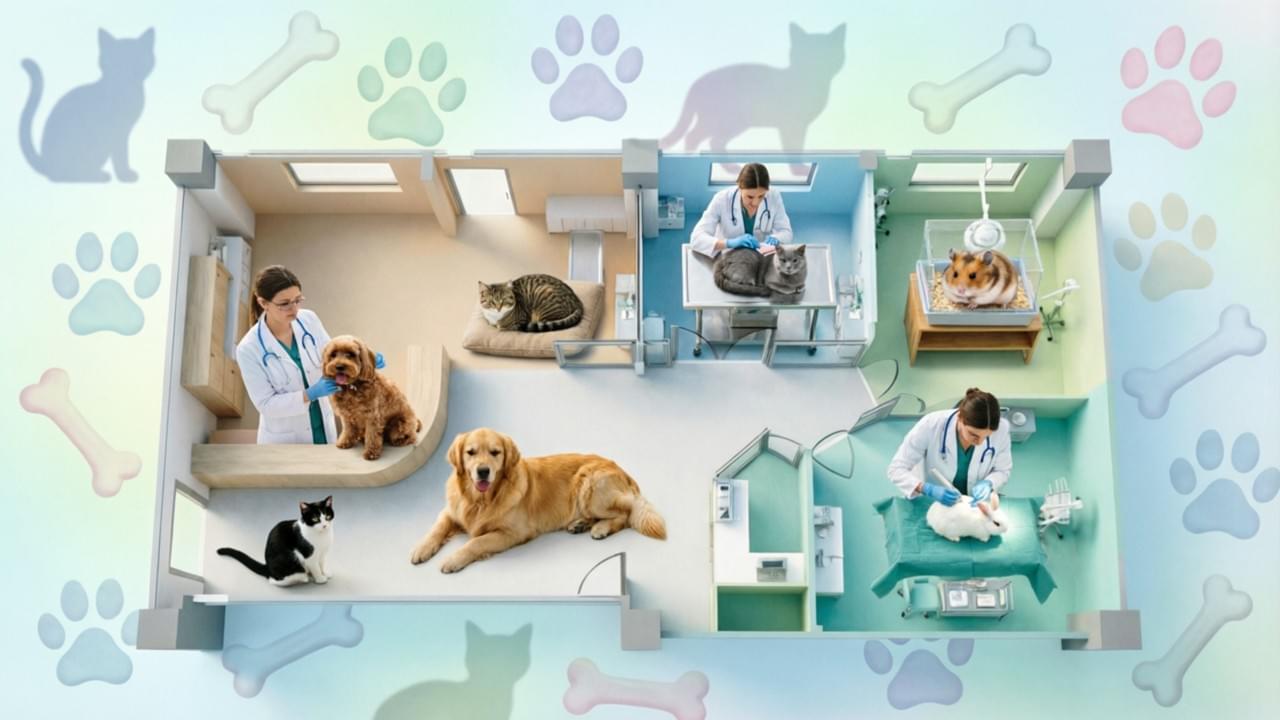
2. The Foundation: Zonal Veterinary Hospital Equipment Layout Planning 🧪
To prevent hospital-acquired infections, you must implement strict veterinary facility zone separation. Your clinic should be divided into three distinct operational “worlds” that never collide:
- Clean Zones: These are your sterile sanctuaries—pharmacy, instrument storage, and clean supply rooms.
- Dirty Zones: Areas for decontamination, the autoclave room, laundry, and medical waste.
- Clinical Zones: The high-traffic heartbeat—exam rooms, the surgical suite, and the ICU.
Staff and equipment must never carry contaminated items through clean areas. Physical barriers or pass-through windows are essential to keep these boundaries firm.
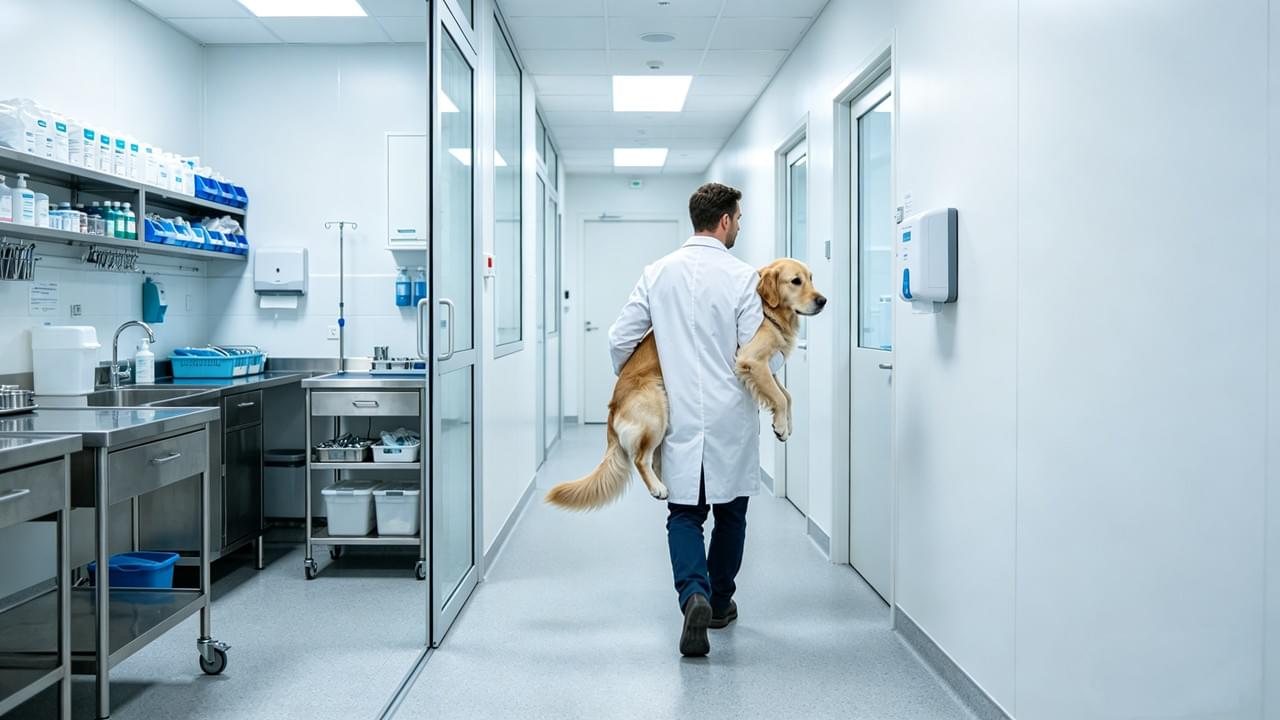
3. Visualize Movement in Veterinary Hospital Equipment Layout Planning 🐕
Think of your clinic as a one-way street. Adopting a one-way patient flow reduces chaos and lowers patient stress. The ideal journey follows a logical loop: Entry → Examination → Diagnostics → Treatment → Surgery → Recovery → Discharge.
When patients backtrack through busy corridors, it creates “traffic jams” and increases the risk of cross-contamination. Even in smaller clinics where zones might overlap, your design should favor a linear path that keeps movement flowing toward the exit.
4. Essential Adjacency Requirements for Spatial Efficiency ⚙️
Some rooms are inseparable due to the equipment they house. Proper placement is a core pillar of our Complete Guide to Veterinary Hospital Equipment Setup. The table below outlines the critical relationships your layout must respect:
| Room Type | Must Be Adjacent To | Primary Clinical Reason |
|---|---|---|
| Surgical Suite | Prep/Induction Area | Minimize patient transport under anesthesia |
| Surgical Suite | ICU / Recovery Ward | Enable rapid post-op transfer and monitoring |
| X-ray Room | Examination Rooms | Minimize movement of fractious or injured patients |
| Sterilization Room | Surgical Suite | Ensure instrument turnaround efficiency |
| In-House Lab | Examination Rooms | Facilitate fast sample-to-result turnaround |
5. Infrastructure Needs in Veterinary Hospital Equipment Layout Planning 🔌
Every major piece of equipment has “hidden” spatial requirements. For instance, a digital X-ray room typically requires at least 3.5m × 4.5m and specific lead shielding (1.5–2.0mm Pb equivalent) to meet safety standards.
In the surgical suite, ceiling height is the “silent killer” of efficiency. You need a minimum of 2.8m to accommodate ceiling-mounted LED surgical lights and HVAC vents. Always ensure you have at least four double 220V outlets on separate circuits in the OR to prevent a tripped breaker from compromising a procedure.
6. Prioritizing Staff Time and “The Step Count” 🏃
A well-designed layout is a gift to your nursing team. If a nurse has to walk to a different floor for IV supplies, they are losing valuable patient care time. Your treatment station should be a “workflow hub” where 95% of nursing interventions can happen without the staff leaving the area.
Calculate the steps between your highest-frequency transitions, such as moving from the lab to the exam room. In a high-performing facility, these transitions should never require passing through “dirty” areas or public corridors.
7. Designing for Future Growth in Veterinary Hospital Equipment Layout Planning 📈
Don’t just plan for the patients you have today; plan for where you want to be in three years. We recommend installing at least four examination rooms for a three-vet clinic. This provides a buffer that prevents a single delayed consultation from creating a bottleneck that affects the entire team simultaneously.
Following WSAVA facility standards and AVMA infection control guidelines for veterinary facilities will ensure your layout remains compliant as regulations evolve.
Frequently Asked Questions
Q: How large should my surgical suite be?
A: Aim for a minimum of 20 m² (4.0m × 5.0m) for a single-table setup. This allows for the table, anesthesia machine, monitors, and at least two surgeons to move freely.
Q: Can exam rooms share a wall with the X-ray room?
A: Yes, but only with adequate lead shielding. The primary rule is never to place X-ray units next to areas of continuous occupation, like reception or staff offices, without professional shielding verification.
Q: Is a dedicated isolation room mandatory in my layout?
A: While some smaller clinics use partitioned wards, a physically separate isolation room with independent drainage and negative pressure ventilation is the gold standard for modern biosecurity.